WaterHog Modular Tile Borders | Graphic Image Mats

WaterHog Modular Tile Borders

$15.99
Shipping calculated at checkout.

Border
Colors


Payment & Security

Your payment information is processed securely. We do not store credit card details nor have access to your credit card information.

Description

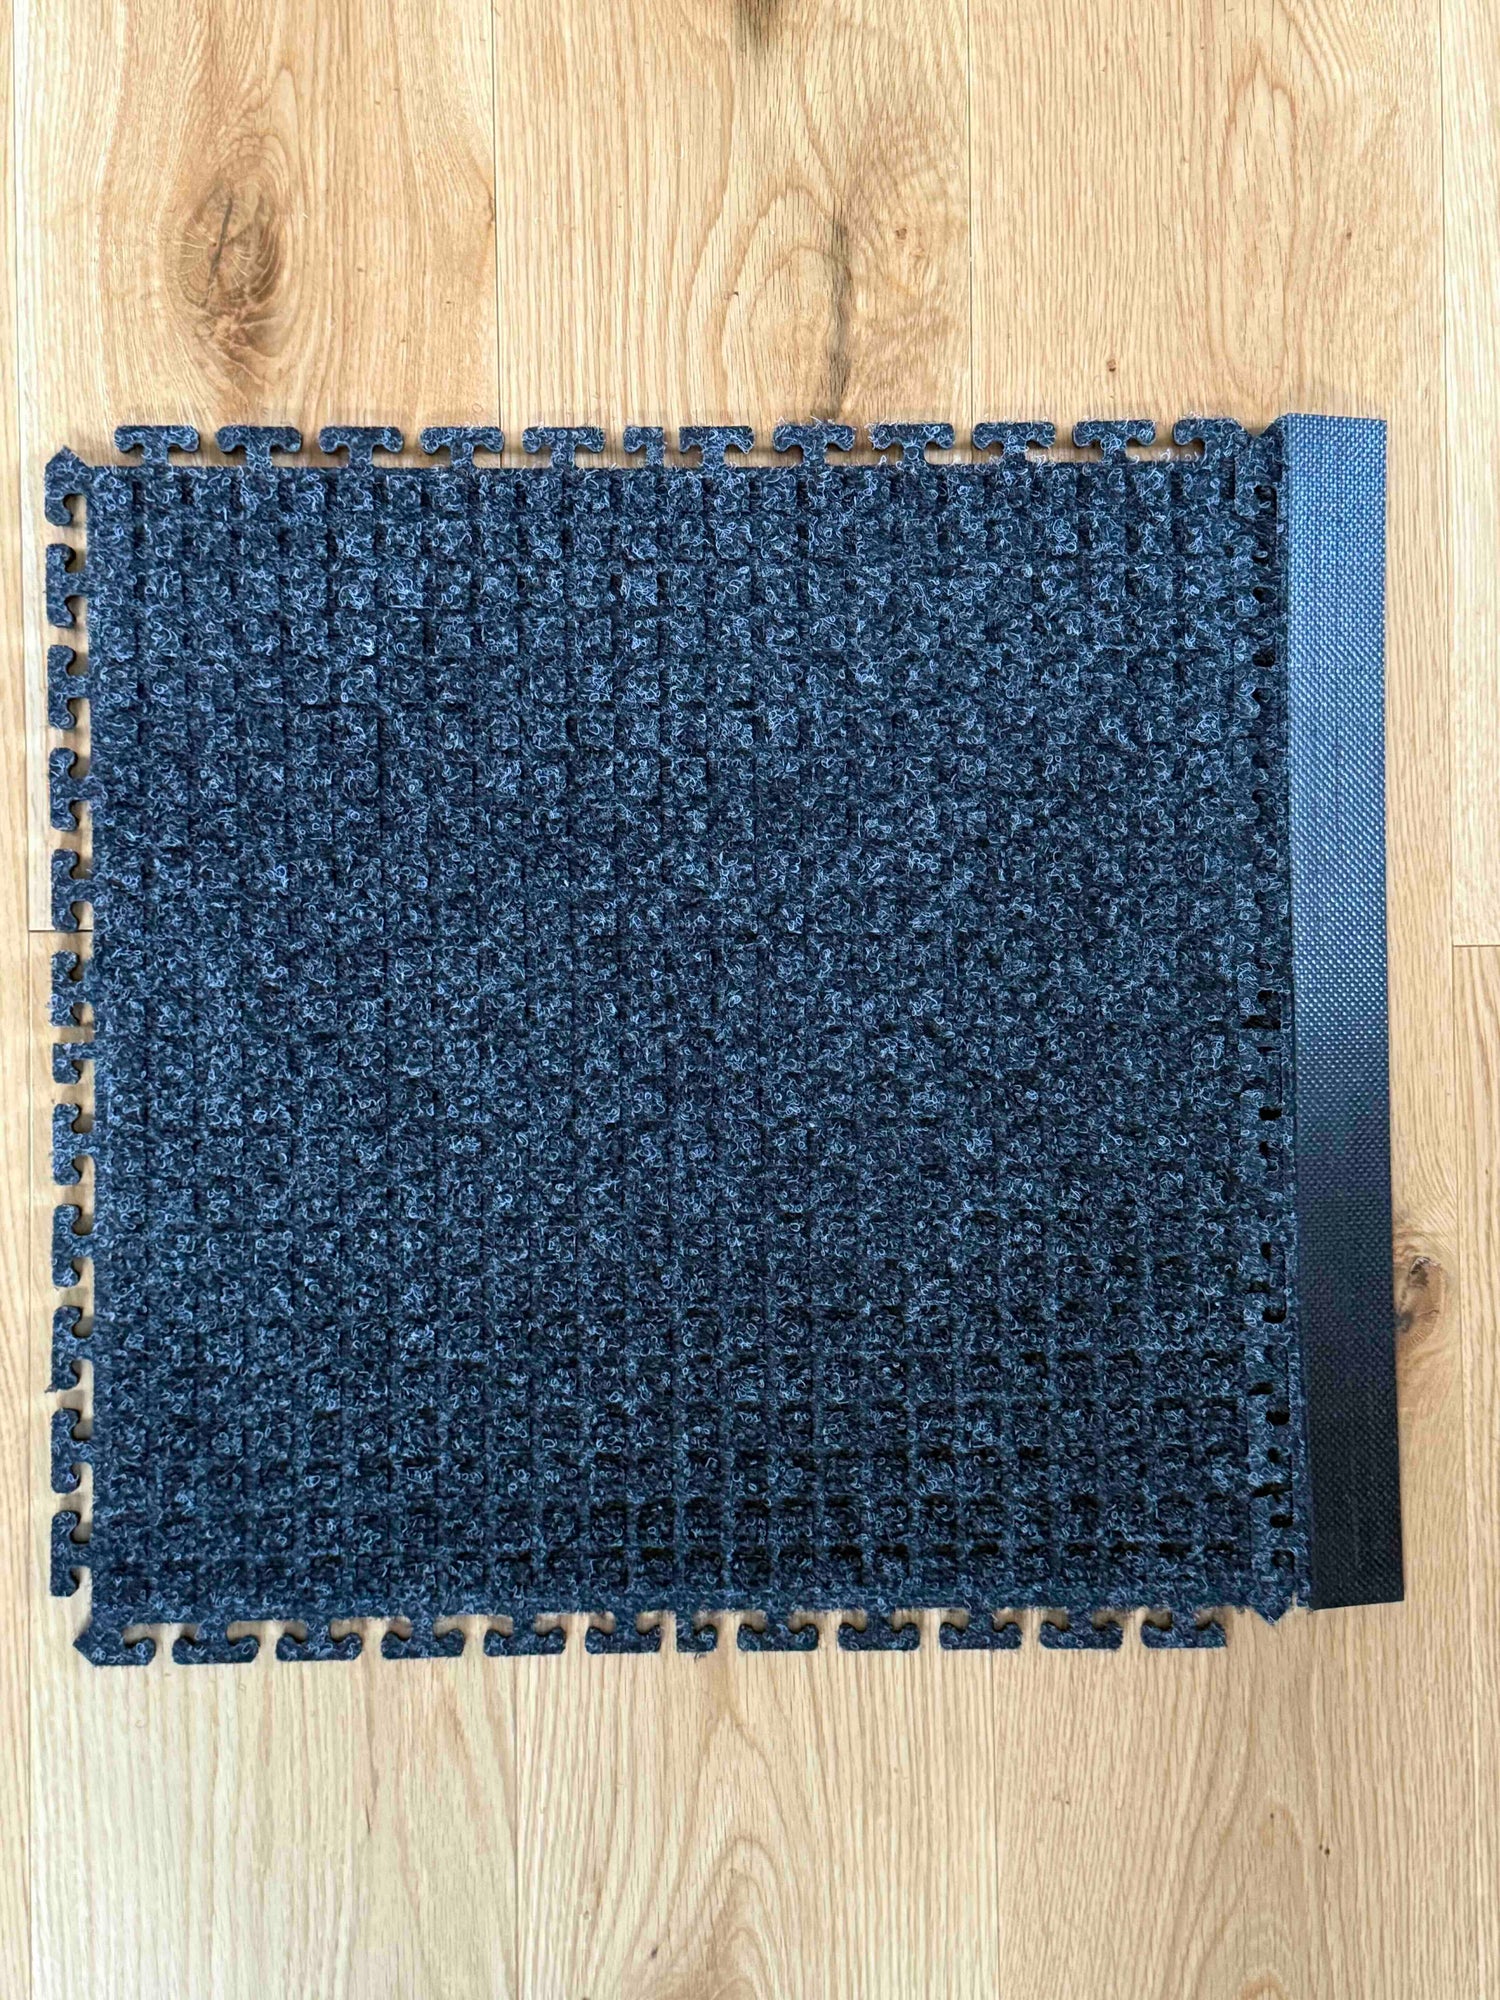
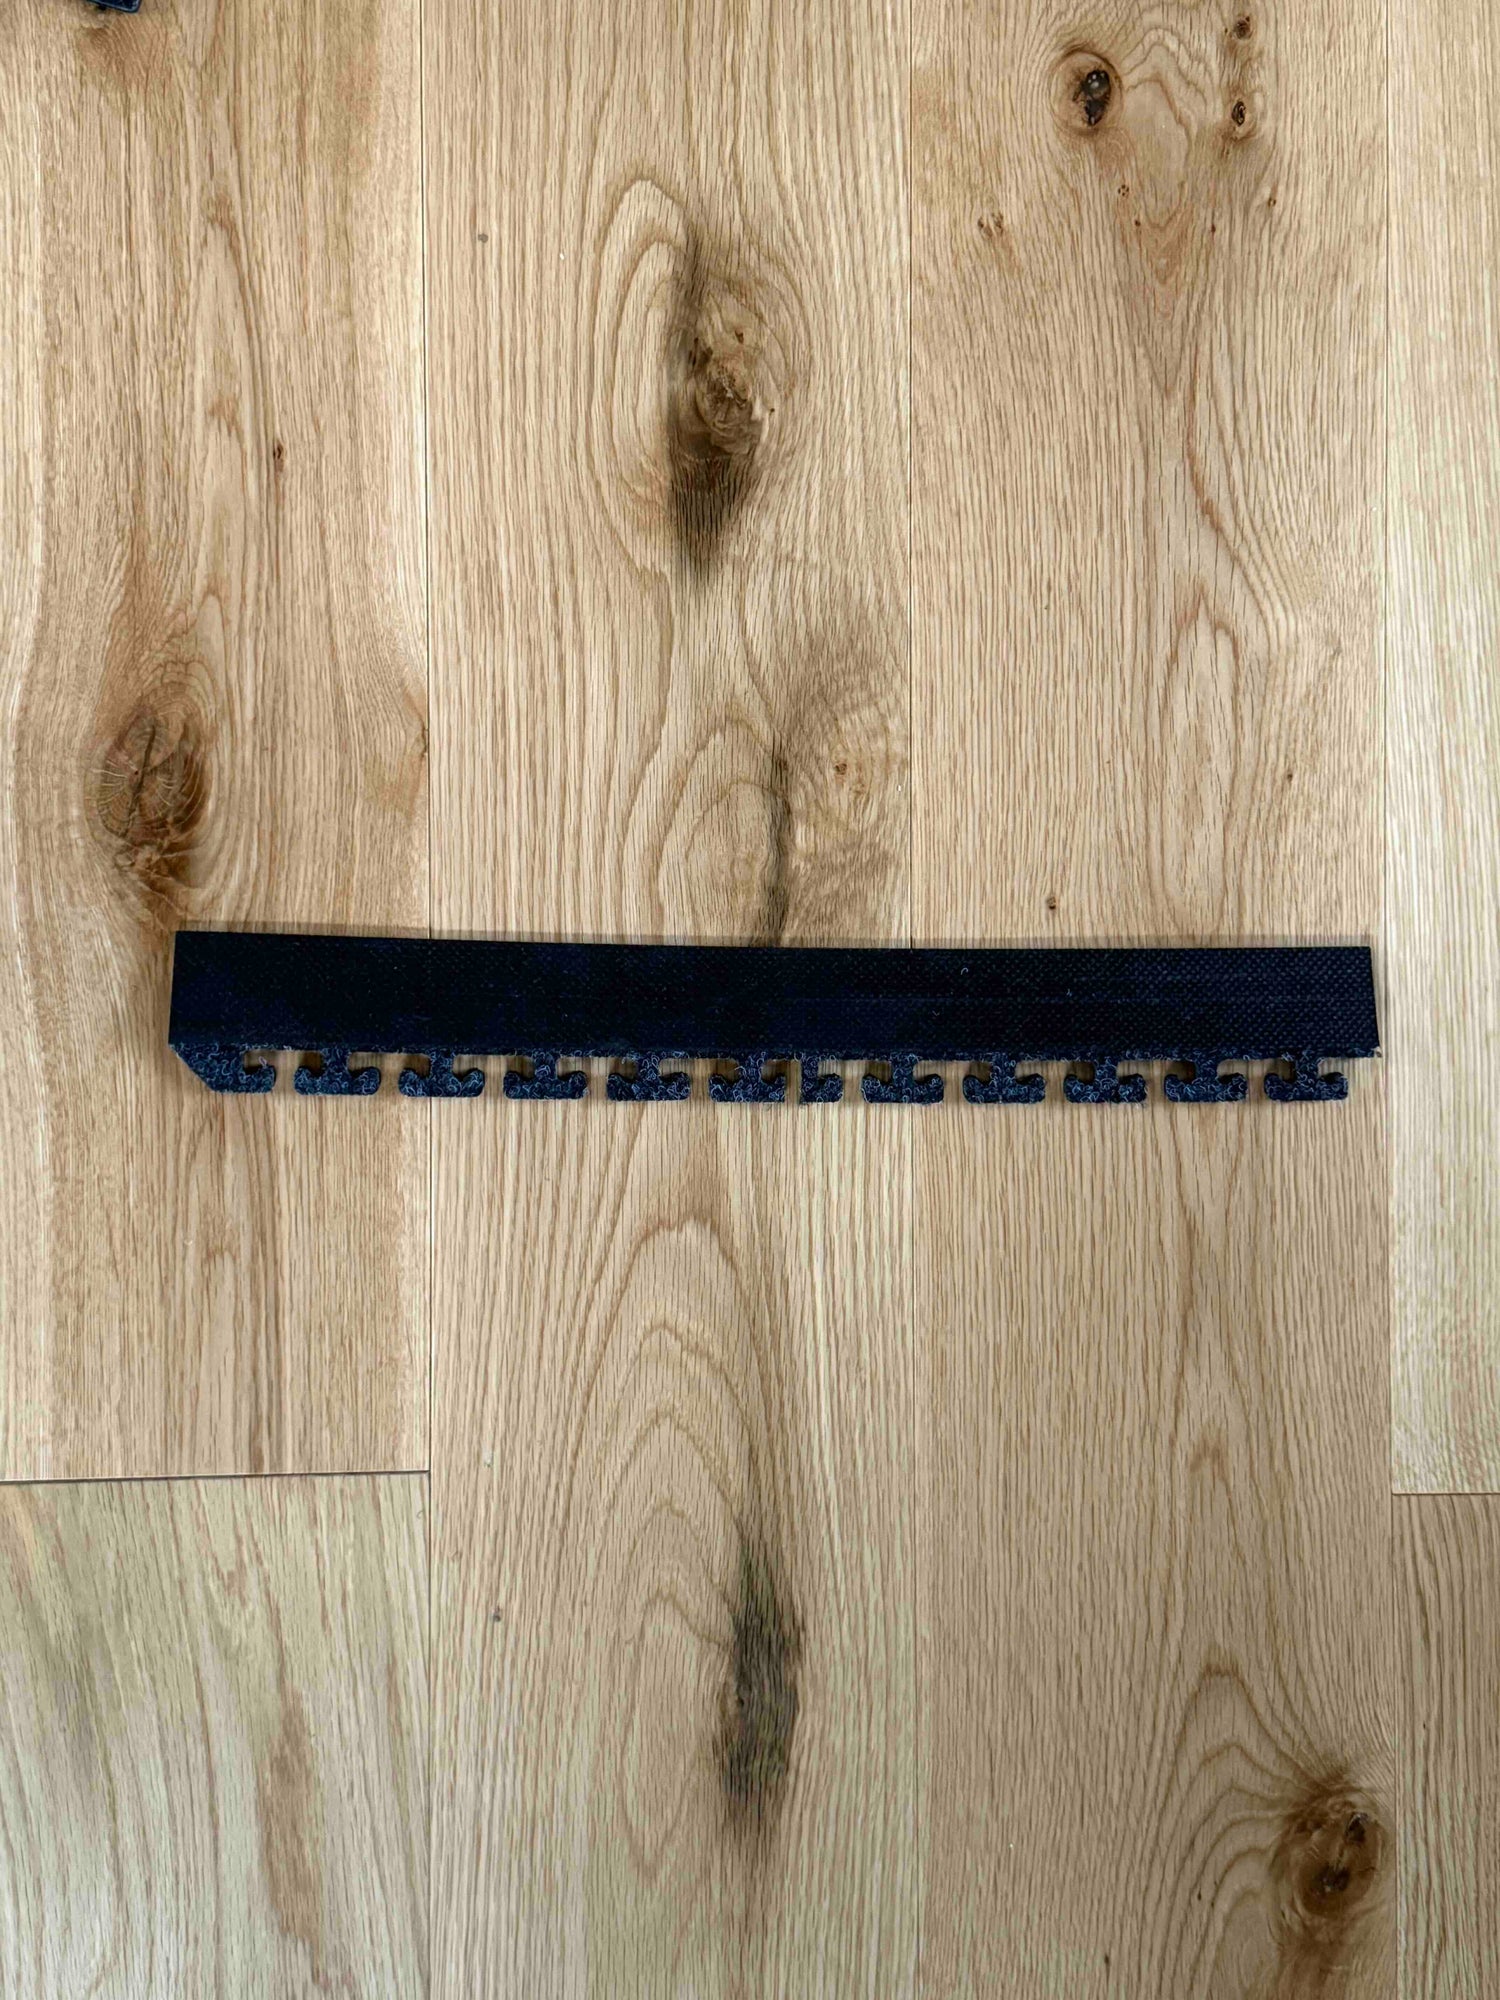
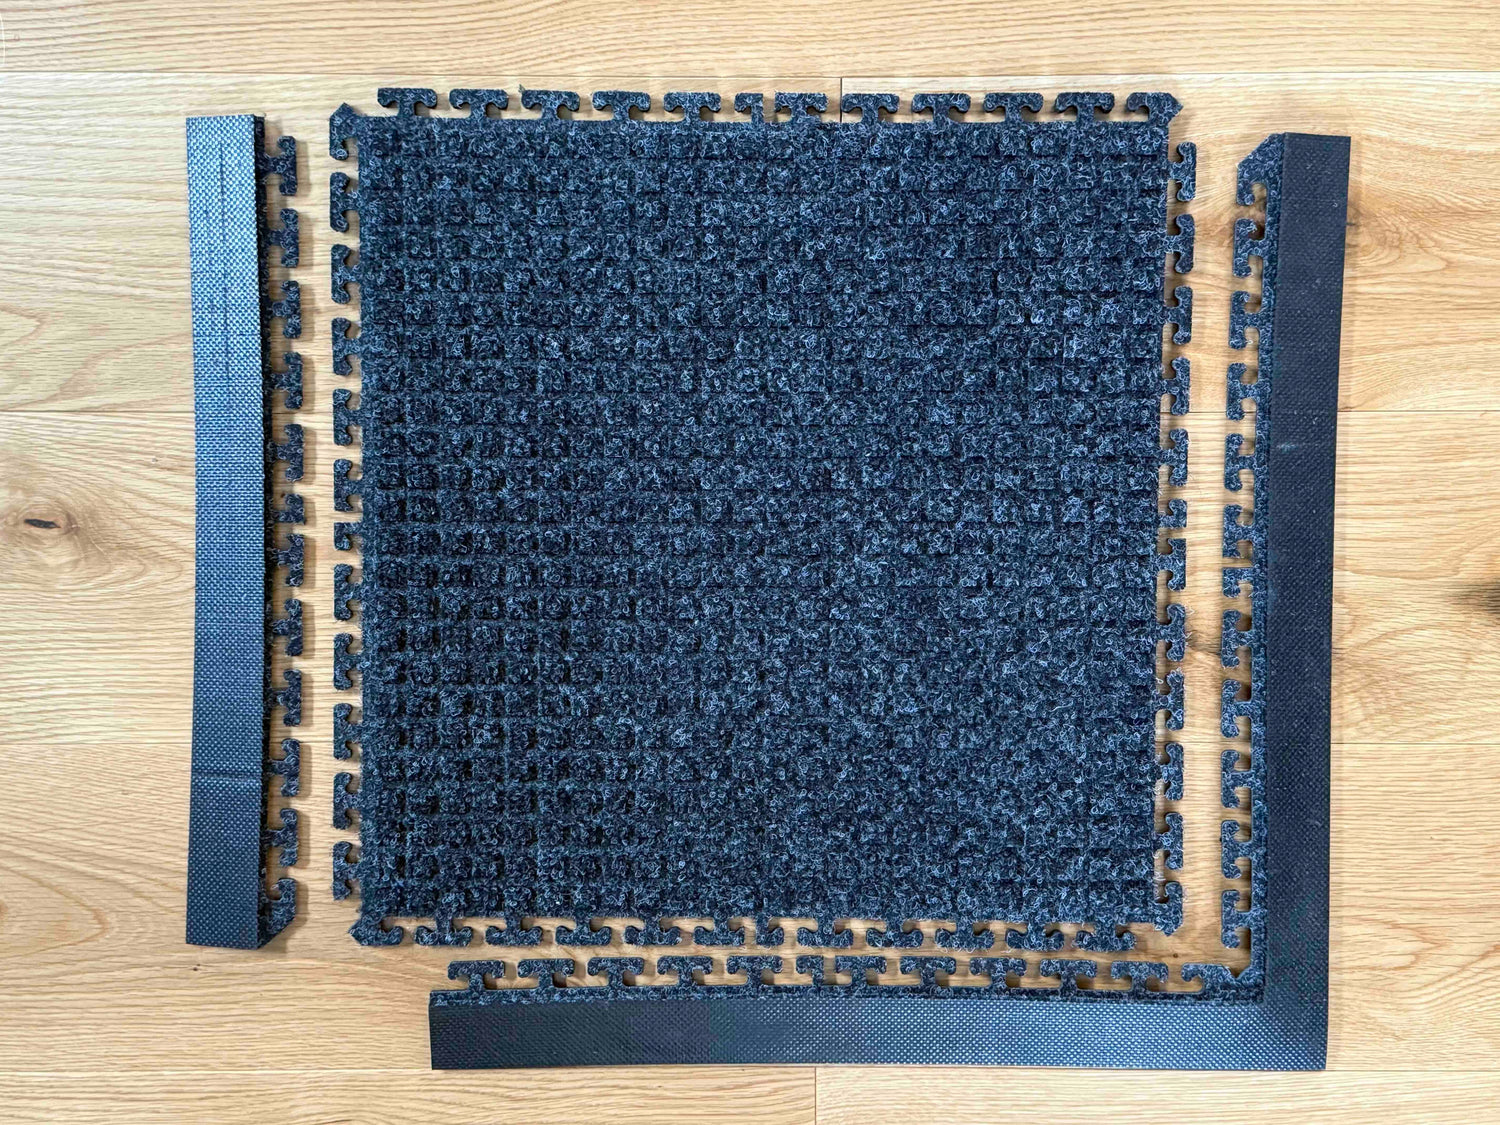
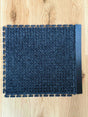
WaterHog Modular Tile Borders are designed to link easily with WaterHog Modular Tiles, creating a clean, finished edge for your installation. These borders snap together without glue or professional installation, making them a simple and efficient solution for completing modular tile layouts.

Ideal for both surface and recessed applications, WaterHog Modular Tile Borders help deliver a polished appearance while maintaining the flexibility of a modular flooring system.

Material Specifications
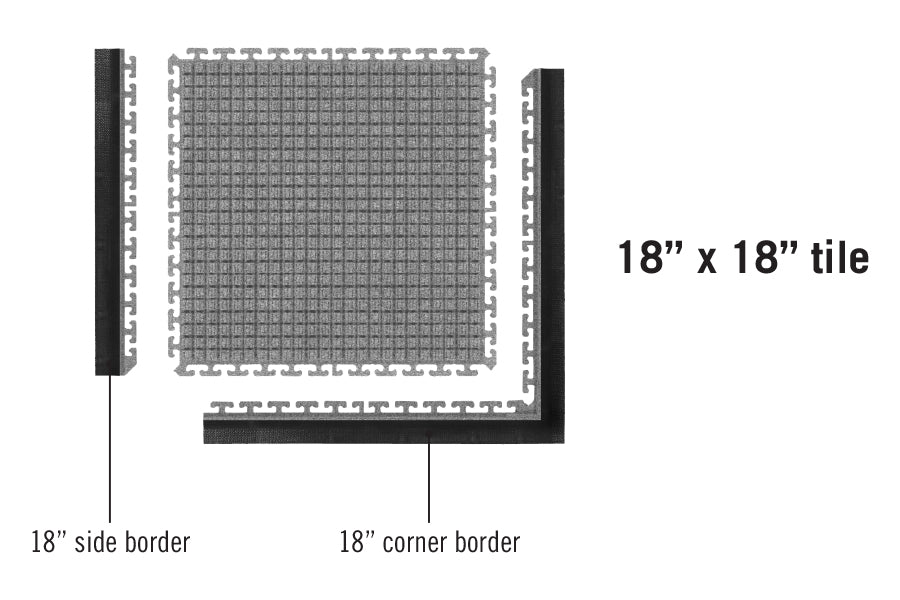
SURFACE
Material:  Solution-dyed PET (polyethylene terephthalate)
Weight: 24 ounces/yard2
Construction: Needle-punched
Design: Squares pattern

BACKING
Material: SBR rubber - universal cleated
Thickness: 200-mil

Overall Tile Thickness: 7/16 inch (0.4375")

STANDARDS & TESTING

  • Passes DOC-FF1-70 for the surface flammability of carpets

Available Sizes

18" x 18" x 7/16" (10 tiles/case)
36" x 36" x 7/16" (4 tiles/case)

Care/Cleaning Instructions

WaterHog Modular Tile mats can be cleaned using the following instructions:

  • Vacuum regularly (daily in high-traffic commercial areas; weekly in lower-traffic areas)
  • Extract or hose off as needed to remove heavy soil/debris
  • Hang mat to dry

Always make sure the mat is dry before placing it back in service.

Installation Instructions

Step 1: Connect as many tiles as is required to achieve the width of the installation.

A Directional arrow is printed on the back of each tile to indicate the direction of the fabric pile. For all tiles to match, the arrows on each tile should be installed in the same direction.

Step 2: Connect as many rows of tile as is necessary to achieve the length of the installation.

Step 3: If installation requires borders, then connect four corner borders to the installation and as many side borders as necessary to complete the installation. If heavy traffic is anticipated across a border, we recommend gluing borders in place with a solvent free adhesive like S1500.

Note: Tiles can be installed wall to wall. Find the center point of the installation and connect tiles together in all directions toward the walls. Tiles should be cut to fit against each wall.

Fast Production

We know time is critical, and that's why we prioritize speed without compromising quality.

Standard production for most products is 5-business. Complex products may take a bit longer.